Creating a user interface
How to build a simple frontend that communicates with a blockchain application built with the Lisk SDK.
To interact with the blockchain application conveniently through a browser, it is possible to build a simple frontend application. This frontend can be built with any technology stack of your choice. In this example, React.js is used.
We will use the @liskhq/lisk-client package in the frontend application to communicate with the blockchain application.
|
Sample code
View the complete sample code of this guide on GitHub in the Lisk SDK examples repository. |
|
Prerequisites
To use this guide, it is assumed that the following criteria have been met:
|
1. Update Directory Structure
Create a parent directory HelloApplication.
mkdir HelloApplication
cd HelloApplication
Move your hello_app folder to the HelloApplication.
mv ~/<YOUR_DIRECTORY>/hello_app ~/<YOUR_DIRECTORY>/HelloApplication├── HelloApplication/ │ └── hello_app/
2. Create a new React app
While being in the HelloApplication folder, bootstrap the React app with the following command:
npx create-react-app@3.4.1 hello_frontend --scripts-version 4.0.3This will automatically set up a React project for you with default configurations in a newly created hello_frontend folder.
├── HelloApplication
│   ├── hello_app/
│   ├── hello_frontend/
│   │   ├── public/
│   │   ├── src/
│   │   ├── README.md
│   │   └── package.json
It is already possible to start the frontend at this point. It should display the React.js logo in the browser under http://localhost:3000 :
cd hello_frontend
npm start
3. Install dependencies
To build the frontend for the Hello blockchain application, install these two additional dependencies:
npm i react-router-dom@5.3.0 (1)| 1 | Handles the routing between pages. |
npm i @liskhq/lisk-client (1)| 1 | A collection of Lisk-related libraries which can be used in the frontend. |
To use BigInt in the frontend, it may be required to add the following options to the package.json file:
{
  // [...]
  "eslintConfig": {
    "extends": [
      "react-app",
      "react-app/jest"
    ],
    "env": {
      "es2020": true,
      "browser": true,
      "node": true,
      "mocha": true
    }
  },
  // [...]
}
After updating the package.json file, install the dependencies in the hello_frontend:
npm install4. Create basic components
This simple app can be customized by creating different components for the first basic functions of the frontend as shown below:
-
New account: Generates new account credentials.
-
Faucet: A component that sends funds to a specified account from the genesis account.
-
Send Transfer transaction: A component that allows sending tokens from one account to another.
-
Account details: Returns details of a user account by address.
4.1. New account
A page for generating new accounts that conveniently allows the creation of credentials that can be used in the application.
Import passphrase and cryptography from the lisk-client package to create new account credentials.
import React, { Component } from 'react';
import { passphrase, cryptography } from '@liskhq/lisk-client';
const newCredentials = () => {
const pass = passphrase.Mnemonic.generateMnemonic();
const keys = cryptography.getPrivateAndPublicKeyFromPassphrase(pass);
const credentials = {
address: cryptography.getBase32AddressFromPassphrase(pass),
binaryAddress: cryptography.getAddressFromPassphrase(pass).toString("hex"),
passphrase: pass,
publicKey: keys.publicKey.toString("hex"),
privateKey: keys.privateKey.toString("hex")
};
return credentials;
};
const NewAccount = () => {
const credentials = newCredentials();
return (
<div>
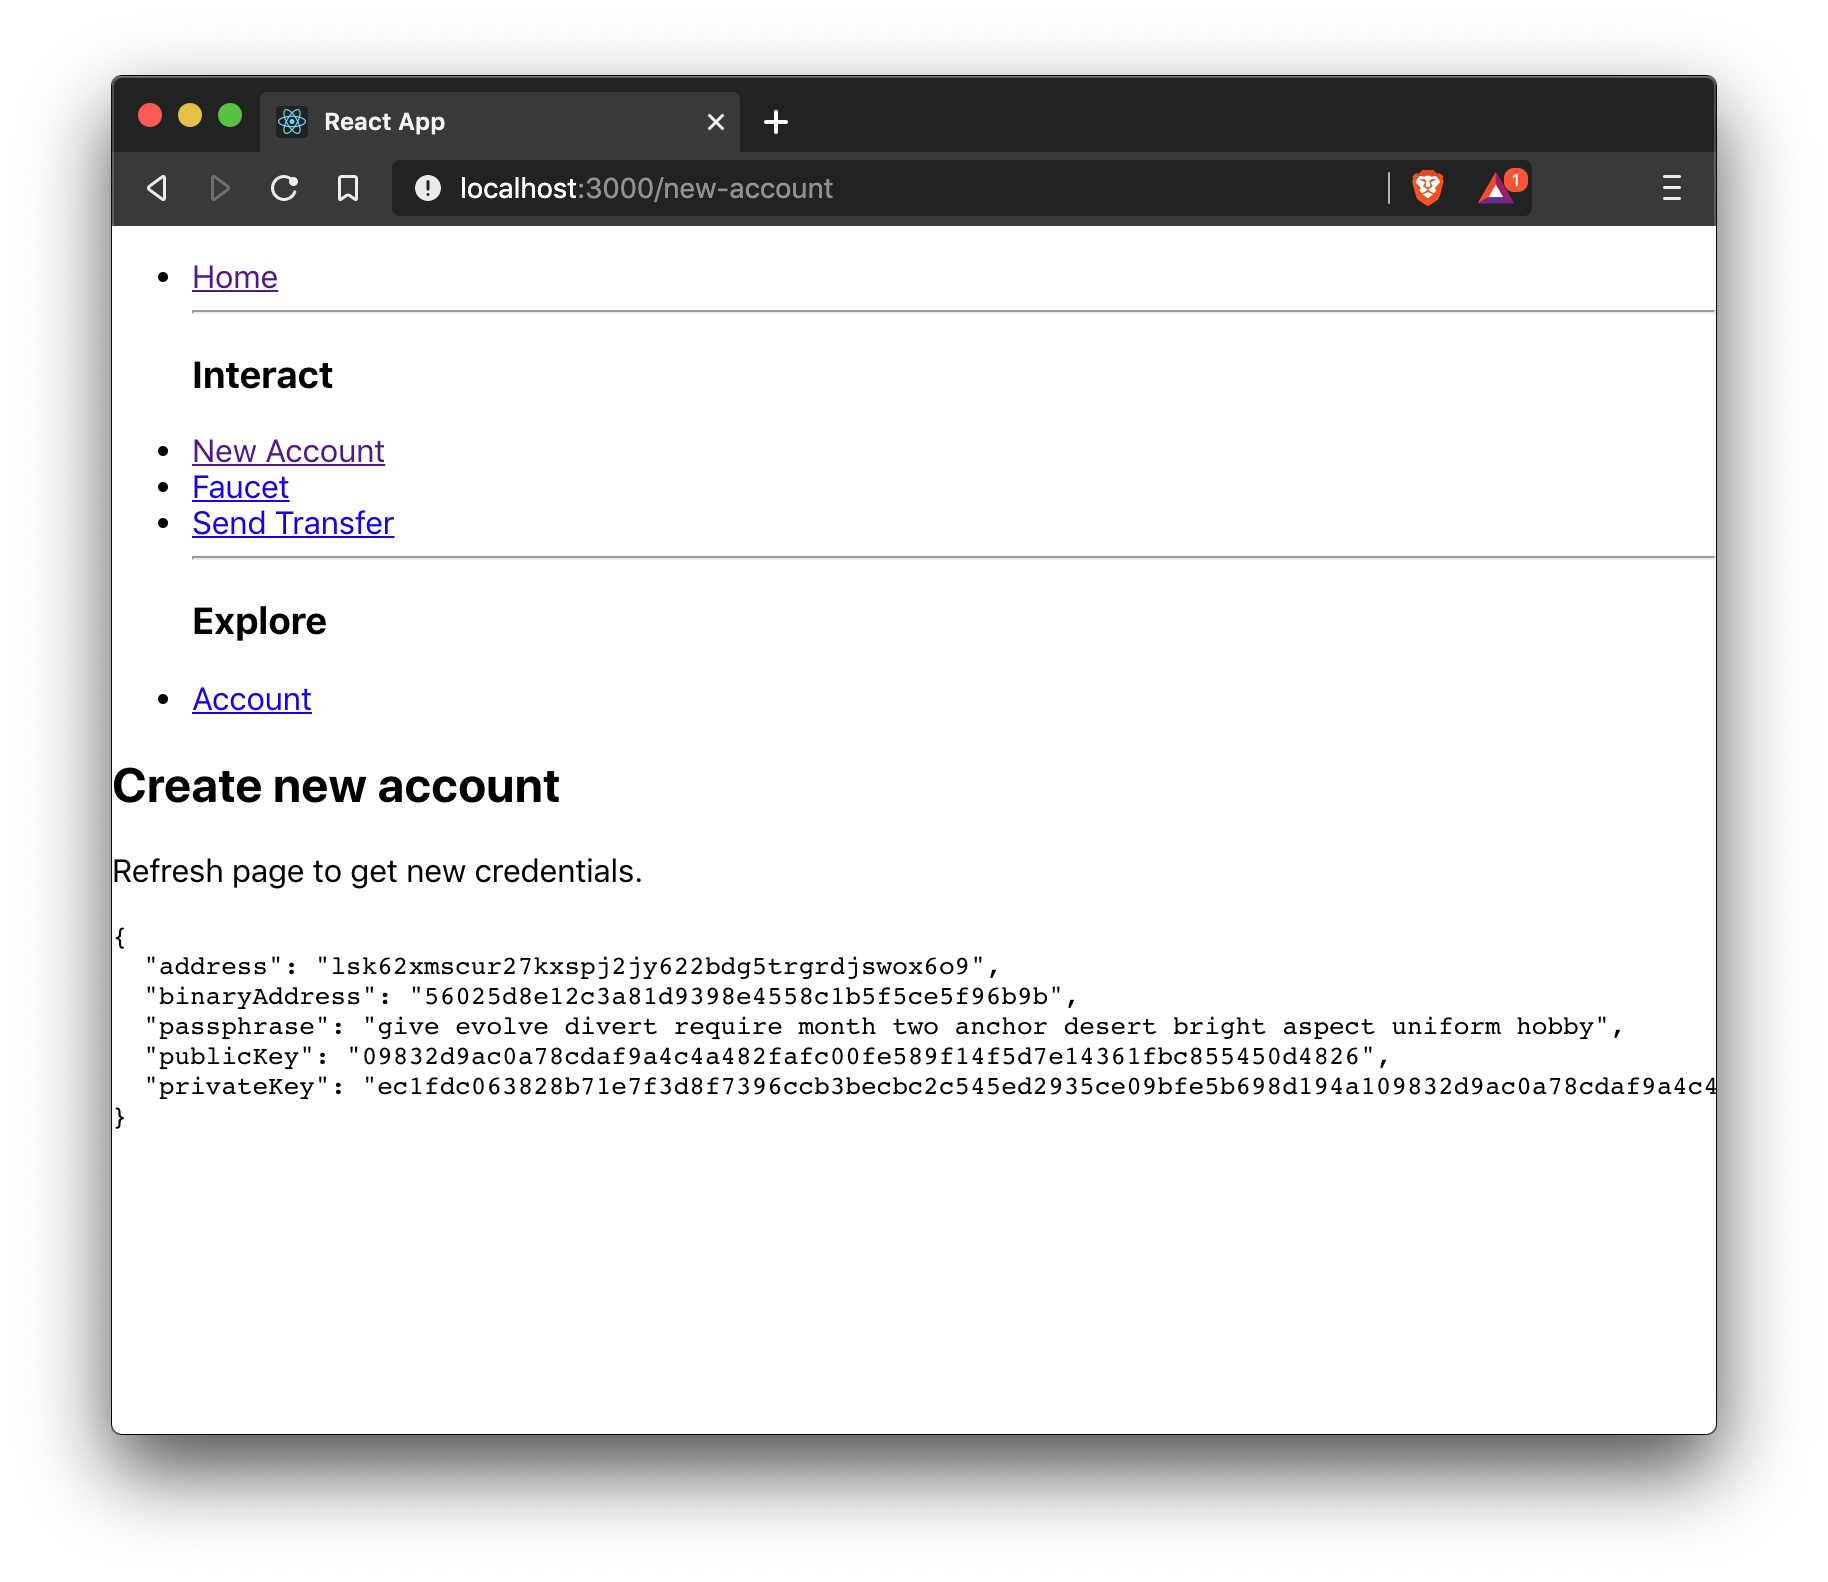
<h2>Create new account</h2>
<p>Refresh page to get new credentials.</p>
<pre>{JSON.stringify(credentials, null, 2)}</pre>
</div>
);
}
export default NewAccount;4.2. Faucet
The faucet is a component that allows accounts to receive tokens from the genesis account, which holds the majority of initial tokens at the start of the Devnet.
In a new file api.js, the apiClient from package lisk-client provides an interface for the faucet and other React components to connect to the blockchain application via a WebSocket on port 8080.
const { apiClient, cryptography } = require('@liskhq/lisk-client');
const RPC_ENDPOINT = 'ws://localhost:8080/ws';

let clientCache;

export const getClient = async () => {
    if (!clientCache) {
        clientCache = await apiClient.createWSClient(RPC_ENDPOINT);
    }
    return clientCache;
};

export const fetchAccountInfo = async (address) => {
    const client = await getClient();
    return client.account.get(cryptography.getAddressFromBase32Address(address));
};

export const fetchHelloCounter = async () => {
    const client = await getClient();
    return client.invoke('hello:amountOfHellos');
};

export const fetchLatestHello = async () => {
    const client = await getClient();
    return client.invoke('latestHello:getLatestHello');
};
Next, create a new file Faucet.js, which will store the React component of the faucet.
import React, { useState } from 'react';
// `transactions` and `cryptography` from the `lisk-client` package are used to convert the data of the transaction into the correct format.
import { cryptography, transactions } from '@liskhq/lisk-client';
// Inside `Faucet.js`, import the previously defined API client from `api.js`.
import * as api from '../api.js';
//List of accounts, the list should be same as the hello_app
import accounts from '../accounts.json';
const Faucet = () => {
const [state, updateState] = useState({
address: '',
amount: '',
transaction: {},
response: {}
});
const handleChange = (event) => {
const { name, value } = event.target;
updateState({
...state,
[name]: value,
});
};
const handleSubmit = async (event) => {
event.preventDefault();
const client = await api.getClient();
const address = cryptography.getAddressFromBase32Address(state.address);
// The API client is used to create the transaction object based on the inputs in the form below.
const tx = await client.transaction.create({
moduleID: 2,
assetID: 0,
fee: BigInt(transactions.convertLSKToBeddows('0.01')),
asset: {
amount: BigInt(transactions.convertLSKToBeddows(state.amount)),
recipientAddress: address,
data: '',
},
}, JSON.parse(JSON.stringify(accounts[10]["passphrase"]))); // Address of a delegate account
// After creation, the transaction is submitted to the blockchain application.
const response = await client.transaction.send(tx);
// After submitting the transaction and receiving the response, the state of the Faucet component is updated with the transaction object and the API response.
updateState({
transaction: client.transaction.toJSON(tx),
address: '',
amount: '',
response: response
});
}
return (
<div>
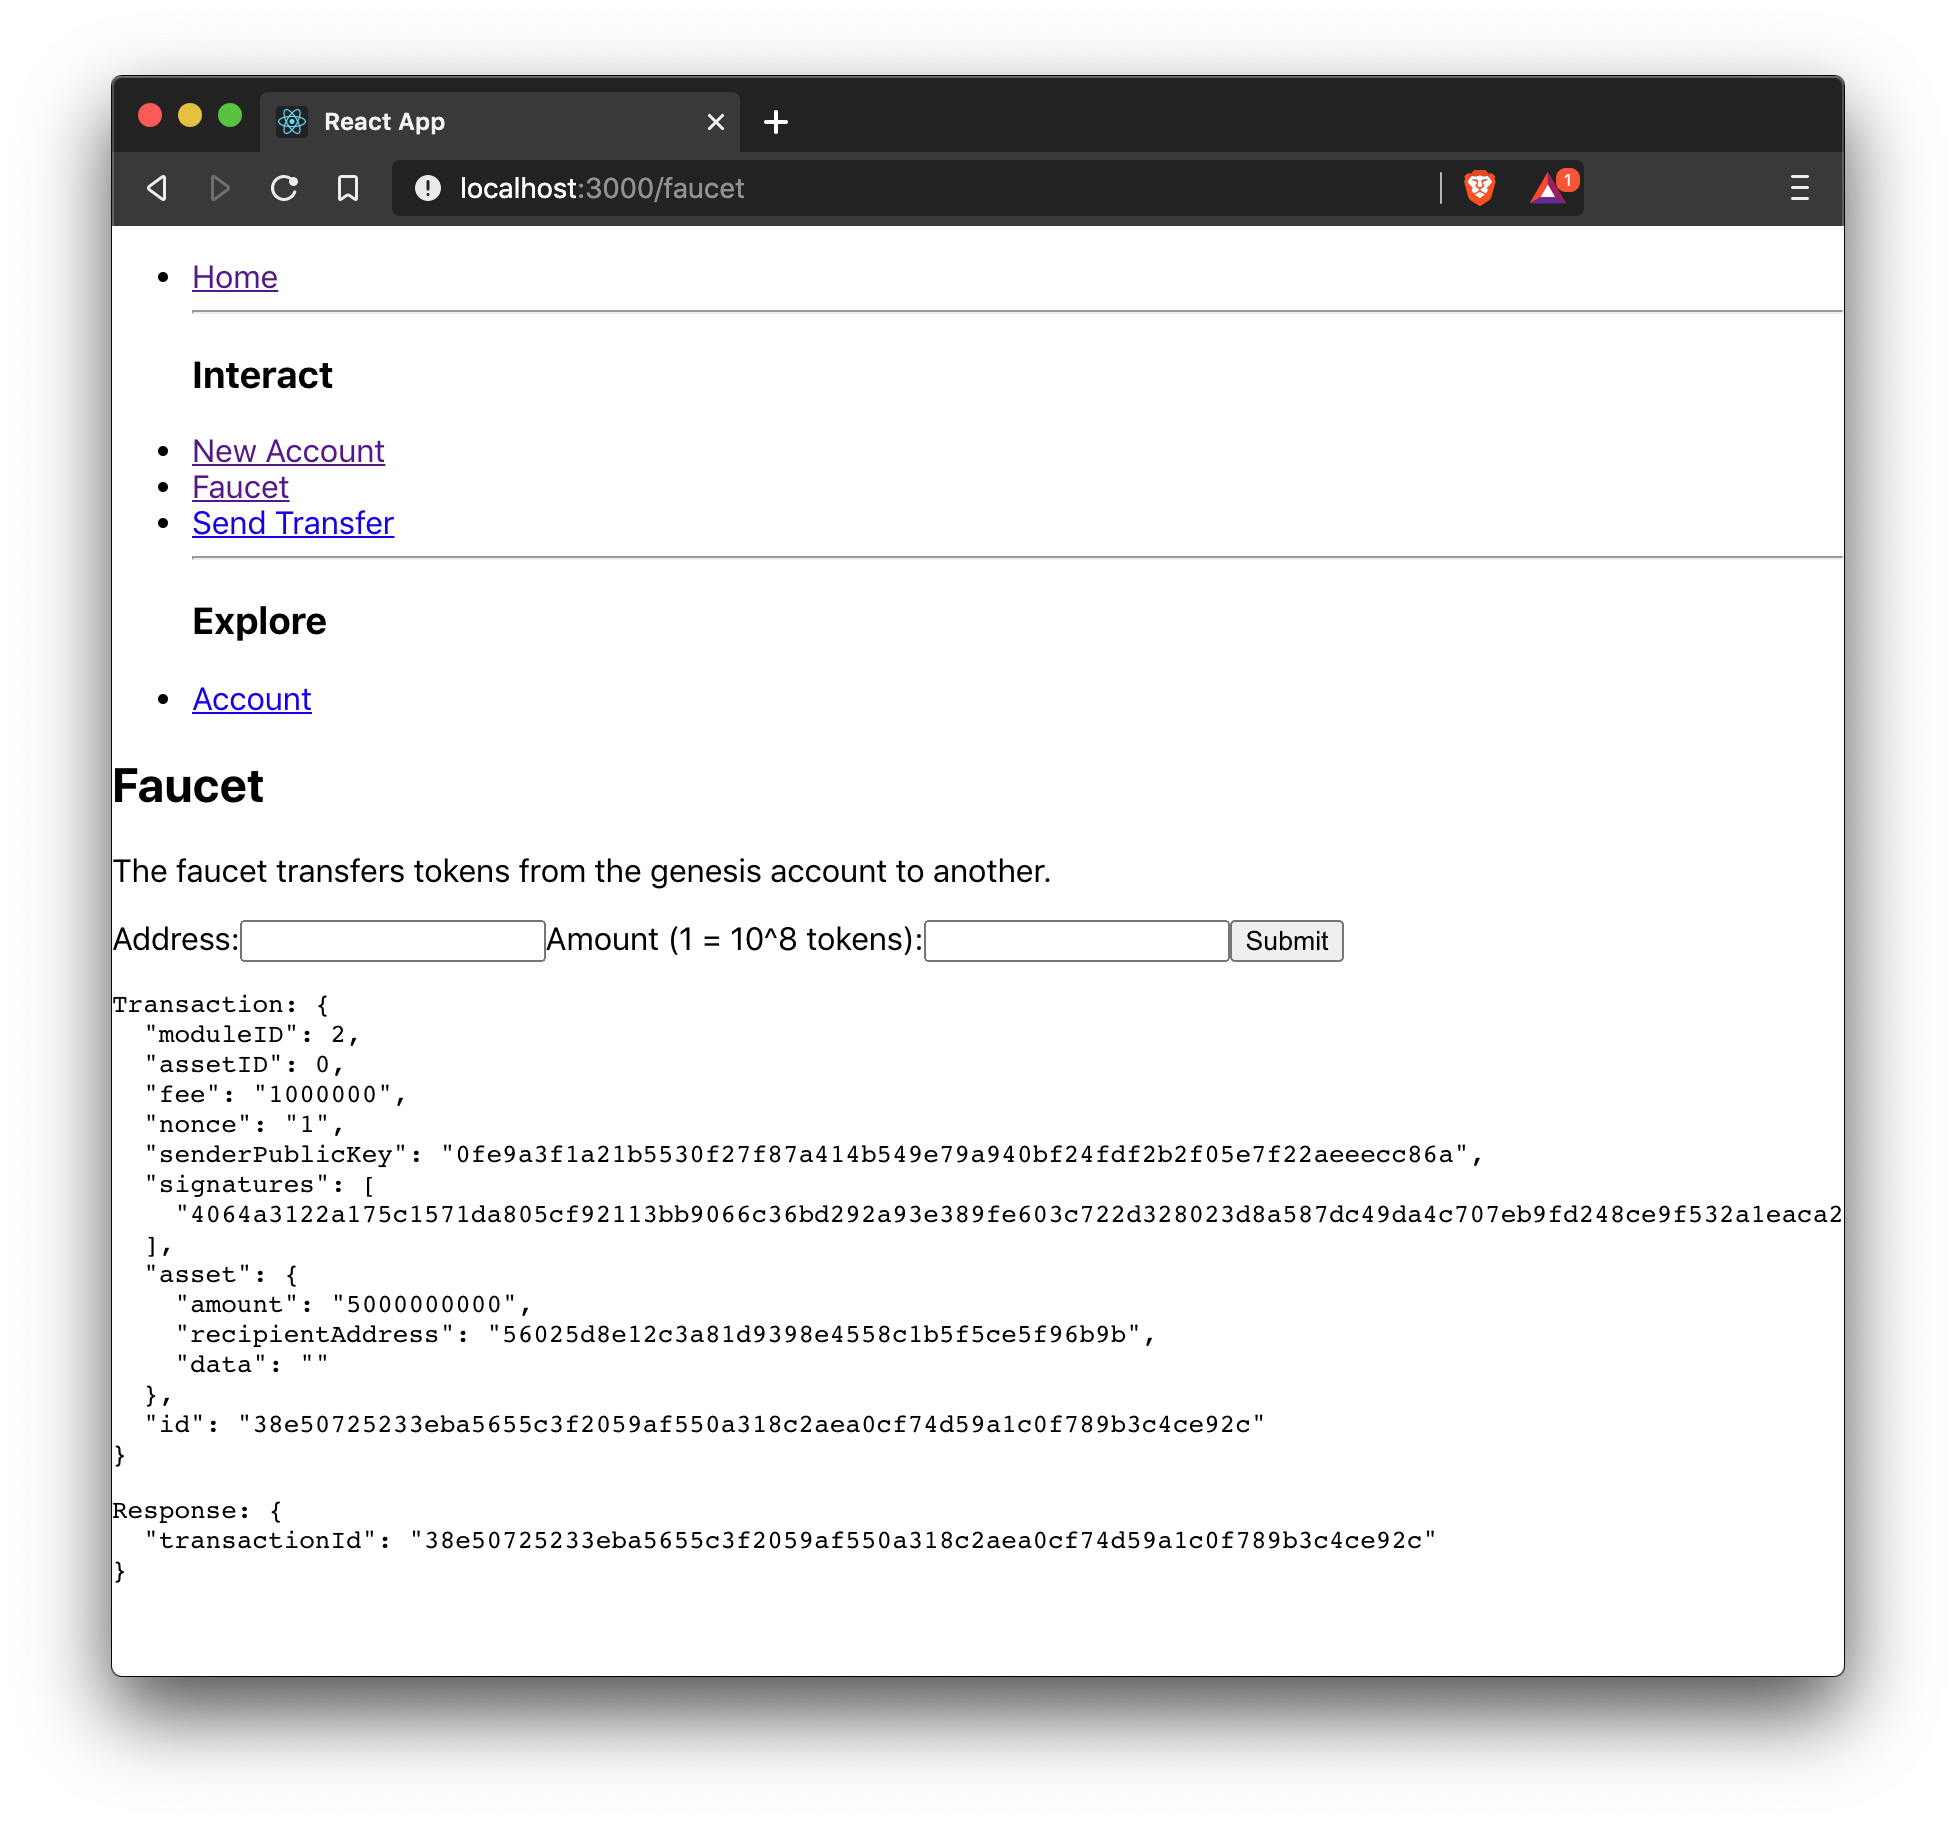
<h2>Faucet</h2>
<p>The faucet transfers tokens from the genesis account to another.</p>
<form onSubmit={handleSubmit}>
<label>
Address:
<input type="text" id="address" name="address" onChange={handleChange} value={state.address} />
</label>
<label>
Amount (1 = 10^8 tokens):
<input type="text" id="amount" name="amount" onChange={handleChange} value={state.amount} />
</label>
<input type="submit" value="Submit" />
</form>
{state.transaction &&
<div>
<pre>Transaction: {JSON.stringify(state.transaction, null, 2)}</pre>
<pre>Response: {JSON.stringify(state.response, null, 2)}</pre>
</div>
}
</div>
);
};
export default Faucet;Both frontend and blockchain applications should have the same accounts.json. So, copy accounts.json from hello_app and paste it into hello_frontend.
cp hello_app/config/default/accounts.json hello_frontend/src/4.3. Send Transfer transaction
Now that it is possible to create a new account and receive some initial tokens, we can build a new component that allows the possibility to be able to send tokens from one account to another.
To do this, create a new file Transfer.js.
The contents of Transfer.js are similar to Faucet.js, as a transfer transaction will be sent on both pages.
The only difference is that the sender is not essentially a genesis account, but can be any account in the network.
import React, { useState } from 'react';
import { cryptography, transactions } from '@liskhq/lisk-client';
import * as api from '../api.js';
const Transfer = () => {
const [state, updateState] = useState({
address: '',
amount: '',
fee: '',
passphrase: '',
transaction: {},
response: {}
});
const handleChange = (event) => {
const { name, value } = event.target;
updateState({
...state,
[name]: value,
});
};
const handleSubmit = async (event) => {
event.preventDefault();
const client = await api.getClient();
const address = cryptography.getAddressFromBase32Address(state.address);
// Here the transaction gets signed with the passphrase provided in the form.
const tx = await client.transaction.create({
moduleID: 2,
assetID: 0,
fee: BigInt(transactions.convertLSKToBeddows(state.fee)),
asset: {
amount: BigInt(transactions.convertLSKToBeddows(state.amount)),
recipientAddress: address,
data: '',
},
}, state.passphrase);
let res;
try {
res = await client.transaction.send(tx);
} catch (error) {
res = error;
}
updateState({
transaction: client.transaction.toJSON(tx),
response: res,
address: '',
amount: '',
fee: '',
passphrase: '',
});
};
return (
<div>
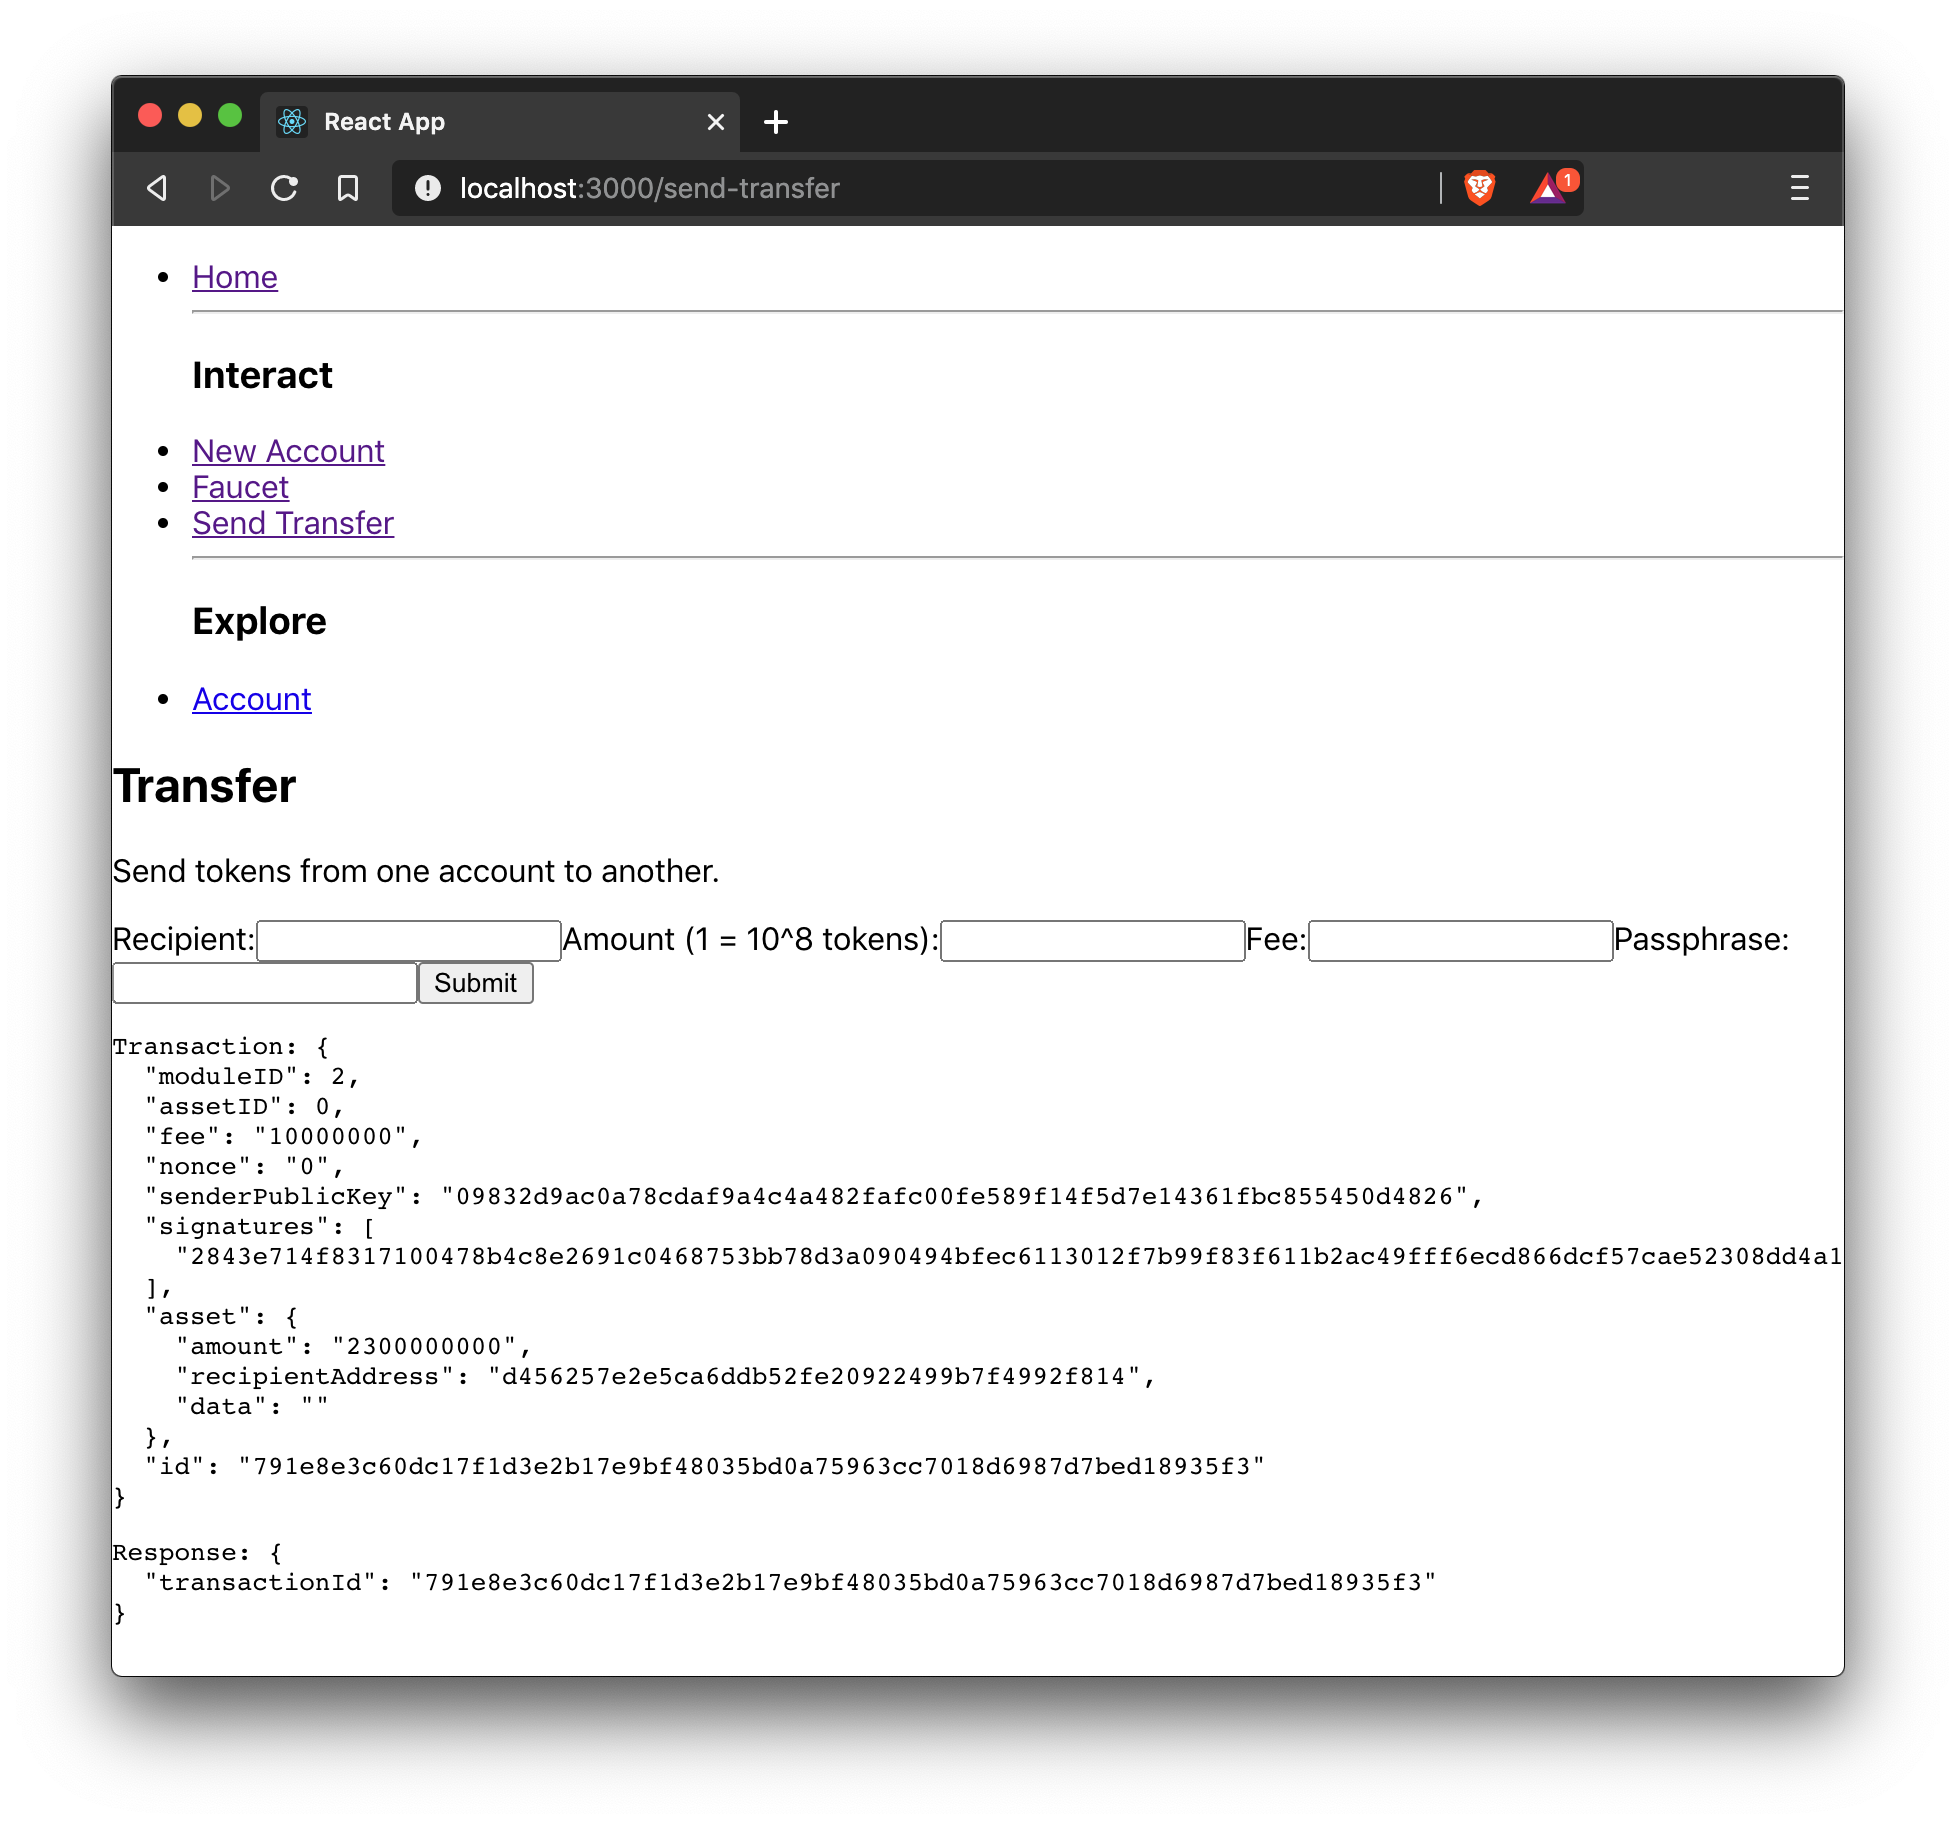
<h2>Transfer</h2>
<p>Send tokens from one account to another.</p>
<form onSubmit={handleSubmit}>
<label>
Recipient:
<input type="text" id="address" name="address" onChange={handleChange} value={state.address} />
</label>
<label>
Amount (1 = 10^8 tokens):
<input type="text" id="amount" name="amount" onChange={handleChange} value={state.amount} />
</label>
<label>
Fee:
<input type="text" id="fee" name="fee" onChange={handleChange} value={state.fee} />
</label>
<label>
Passphrase:
<input type="text" id="passphrase" name="passphrase" onChange={handleChange} value={state.passphrase} />
</label>
<input type="submit" value="Submit" />
</form>
{state.transaction &&
<div>
<pre>Transaction: {JSON.stringify(state.transaction, null, 2)}</pre>
<pre>Response: {JSON.stringify(state.response, null, 2)}</pre>
</div>
}
</div>
);
}
export default Transfer;4.4. Send Hello transaction
Now that we defined a component for posting one of the default transaction types, the Transfer transaction, create another component for posting the custom Hello transaction, which was implemented before in the guide Creating a new asset.
Create a new file Hello.js inside of the components/ folder, and add the following code to it:
import { cryptography, transactions } from '@liskhq/lisk-client';
import React, { Component, useState } from 'react';
import * as api from '../api.js';
const Hello = () => {
const [state, updateState] = useState({
hello: '',
fee: '',
passphrase: '',
transaction: {},
response: {}
});
const handleChange = (event) => {
const { name, value } = event.target;
updateState({
...state,
[name]: value,
});
};
const handleSubmit = async (event) => {
event.preventDefault();
const client = await api.getClient();
const tx = await client.transaction.create({
moduleID: 1000,
assetID: 0,
fee: BigInt(transactions.convertLSKToBeddows(state.fee)),
asset: {
helloString: state.hello,
},
}, state.passphrase);
let res = '';
try {
res = await client.transaction.send(tx);
} catch (error) {
res = error;
}
updateState({
transaction: client.transaction.toJSON(tx),
response: res,
hello: '',
fee: '',
passphrase: '',
});
};
return (
<div>
<h2>Hello</h2>
<p>Send a Hello transaction.</p>
<form onSubmit={handleSubmit}>
<label>
Hello message:
<input type="text" id="hello" name="hello" onChange={handleChange} value={state.hello} />
</label>
<label>
Fee:
<input type="text" id="fee" name="fee" onChange={handleChange} value={state.fee} />
</label>
<label>
Passphrase:
<input type="text" id="passphrase" name="passphrase" onChange={handleChange} value={state.passphrase} />
</label>
<input type="submit" value="Submit" />
</form>
<div>
<pre>Transaction: {JSON.stringify(state.transaction, null, 2)}</pre>
<pre>Response: {JSON.stringify(state.response, null, 2)}</pre>
</div>
</div>
);
}
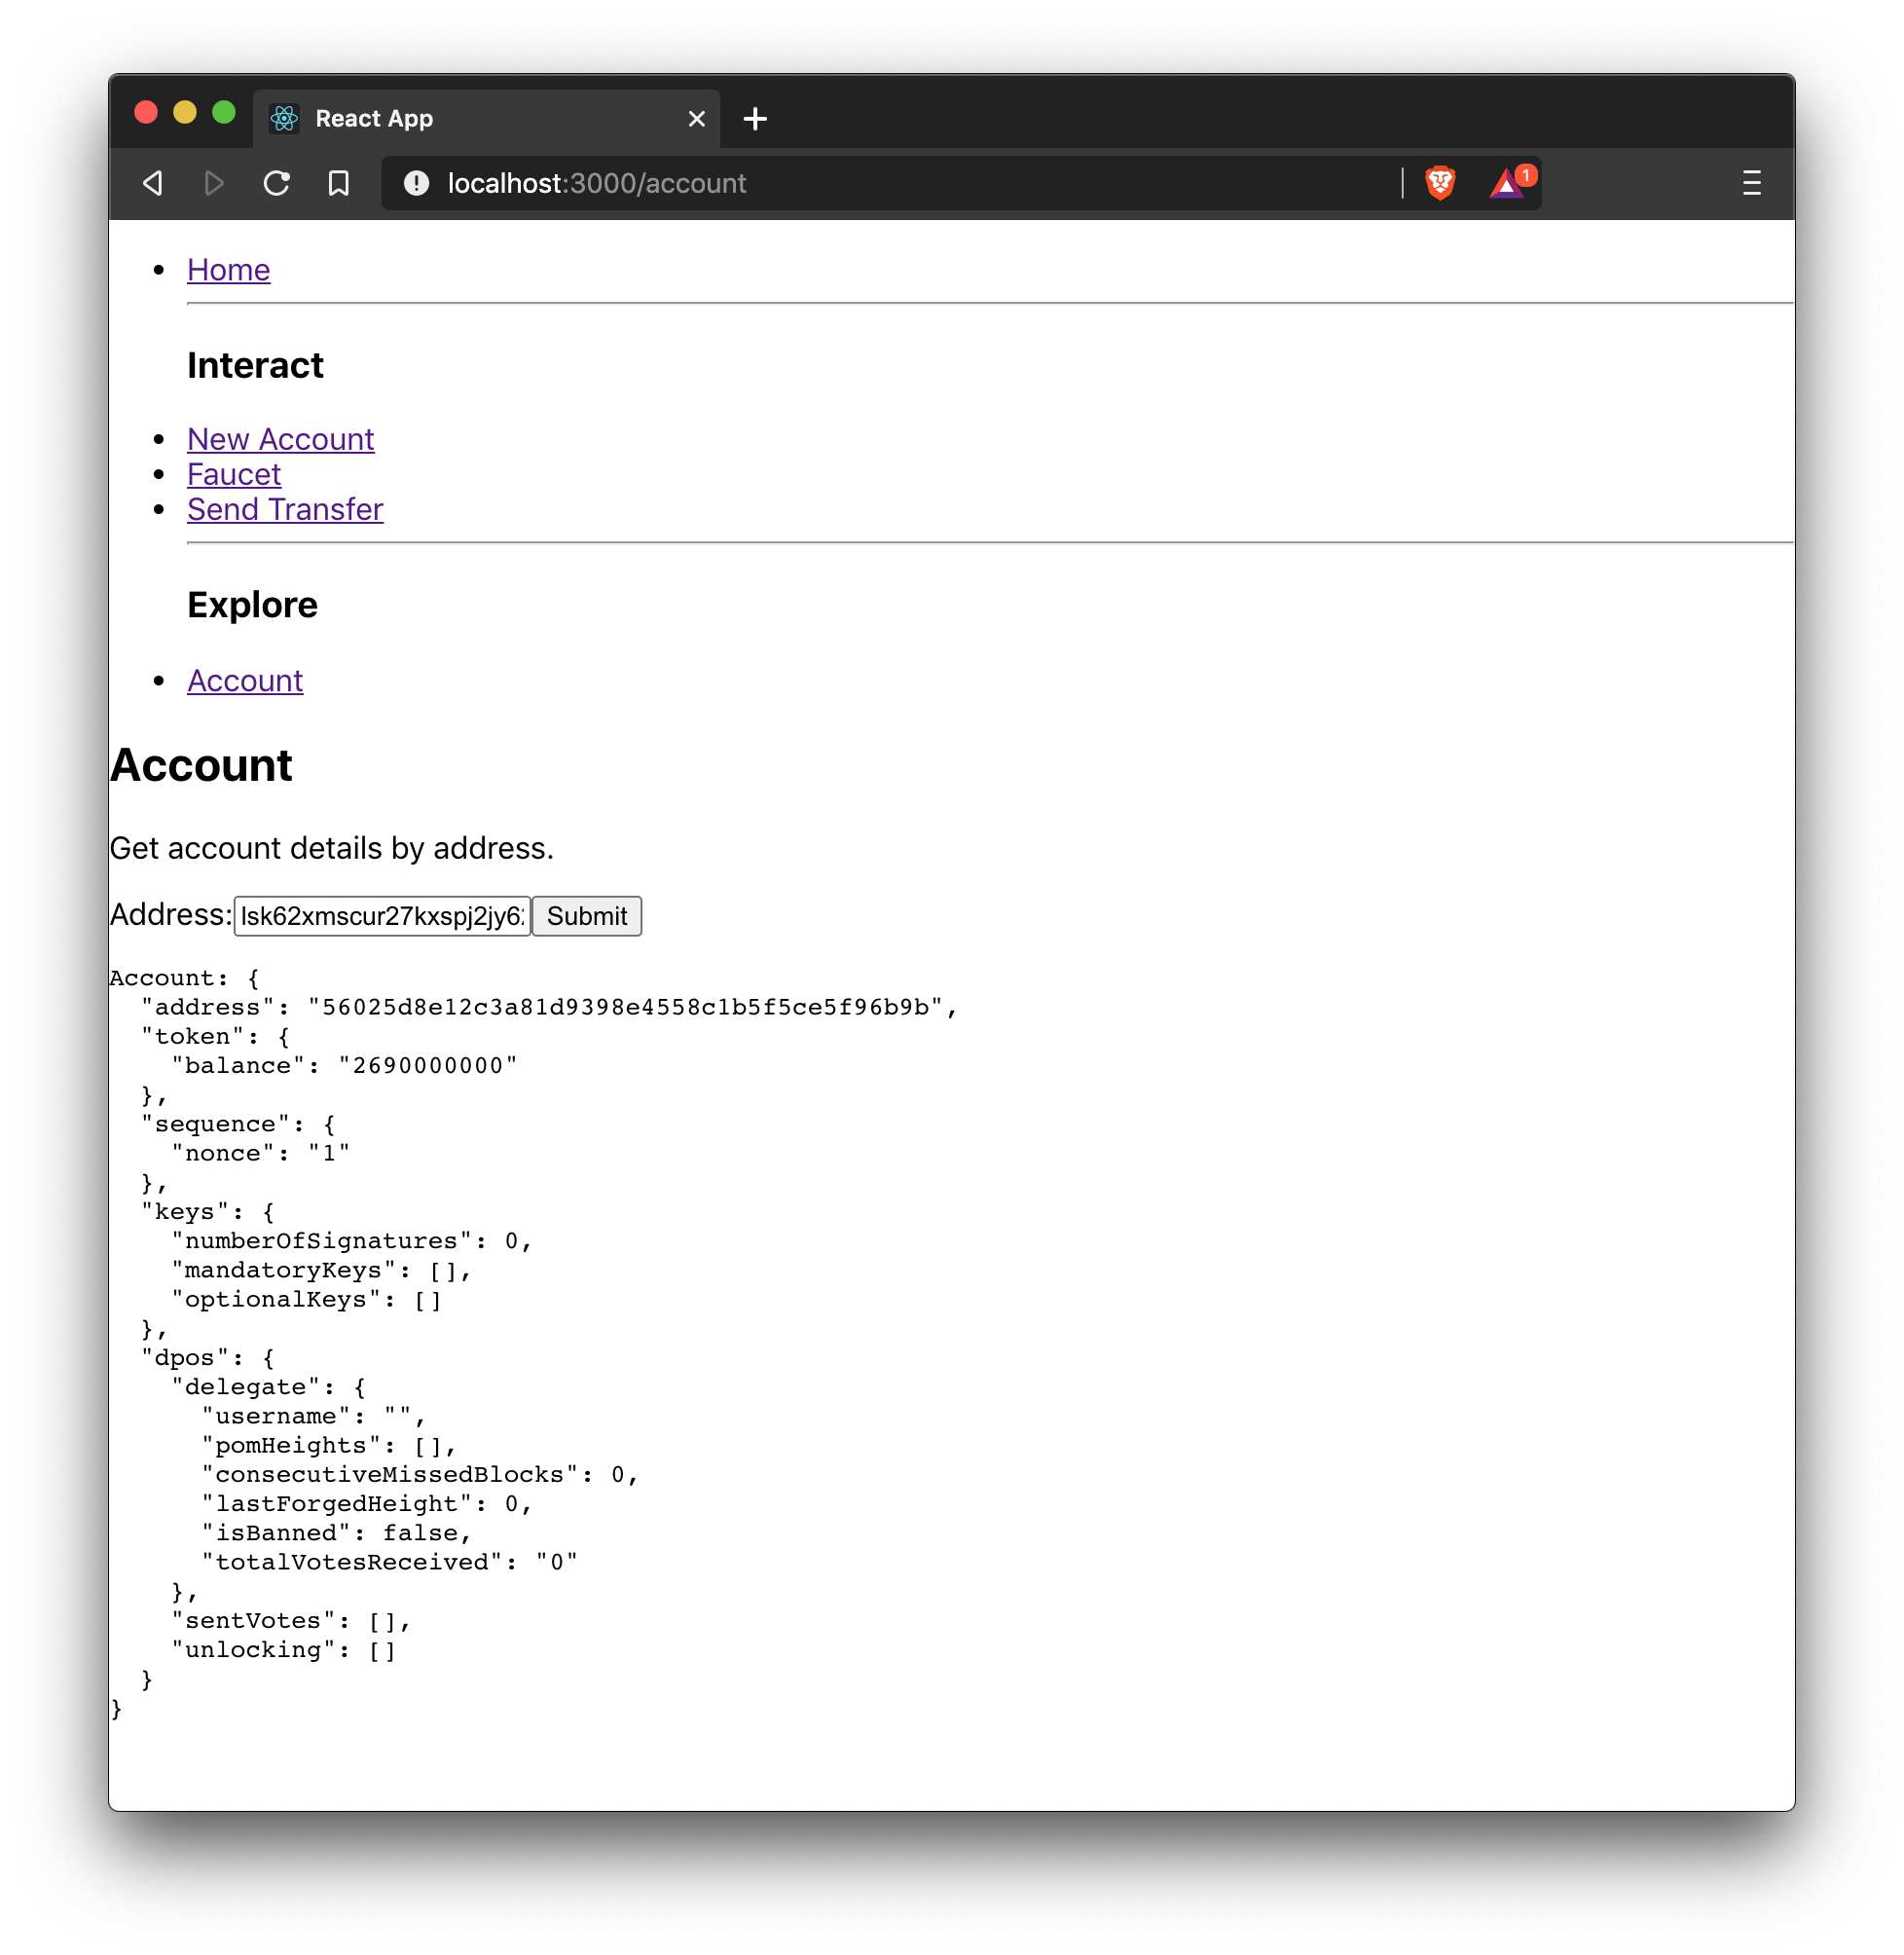
export default Hello;4.5. Account details
For the final component, it is possible to add a page that displays the account details by the address.
The API client is imported again from api.js, in order to communicate with the blockchain application.
import { cryptography } from '@liskhq/lisk-client';
import React, { useState } from 'react';
import * as api from '../api.js';

const Account = () => {
    const [state, updateState] = useState({
        address: '',
        account: {},
    });

    const handleChange = (event) => {
        const { name, value } = event.target;
        updateState({
            ...state,
            [name]: value,
        });
    };

    const handleSubmit = async (event) => {
        event.preventDefault();
        const client = await api.getClient();
        // Retrieves the account details from the blockchain application, based on the address provided.
        const account = await client.account.get(cryptography.getAddressFromBase32Address(state.address));
        updateState({
            ...state,
            account: client.account.toJSON(account),
        });
    };

    return (
        <div>
            <h2>Account</h2>
            <p>Get account details by address.</p>
            <form onSubmit={handleSubmit}>
                <label>
                    Address:
                        <input type="text" id="address" name="address" onChange={handleChange} value={state.address} />
                </label>
                <input type="submit" value="Submit" />
            </form>
            <div>
                <pre>Account: {JSON.stringify(state.account, null, 2)}</pre>
            </div>
        </div>
    );
}
export default Account;
4.6. Index and navigation
Now that all the basic components for the frontend are created, a small component for the landing page can be added.
import React, { Component } from 'react';
import { fetchHelloCounter, fetchLatestHello } from '../api.js';
class Home extends Component {
constructor(props) {
super(props);
this.state = {
data: {
helloCounter: 0,
},
latestHello: {
message: 'N/A',
sender: 'N/A'
}
};
}
async componentDidMount() {
const helloData = await fetchHelloCounter() ;
const latestHello = await fetchLatestHello() ;
this.setState({
data: {
helloCounter: helloData.helloCounter
},
latestHello: {
message: latestHello ? latestHello.hello: '',
sender: latestHello ? latestHello.sender : '',
}});
}
render() {
return (
<div>
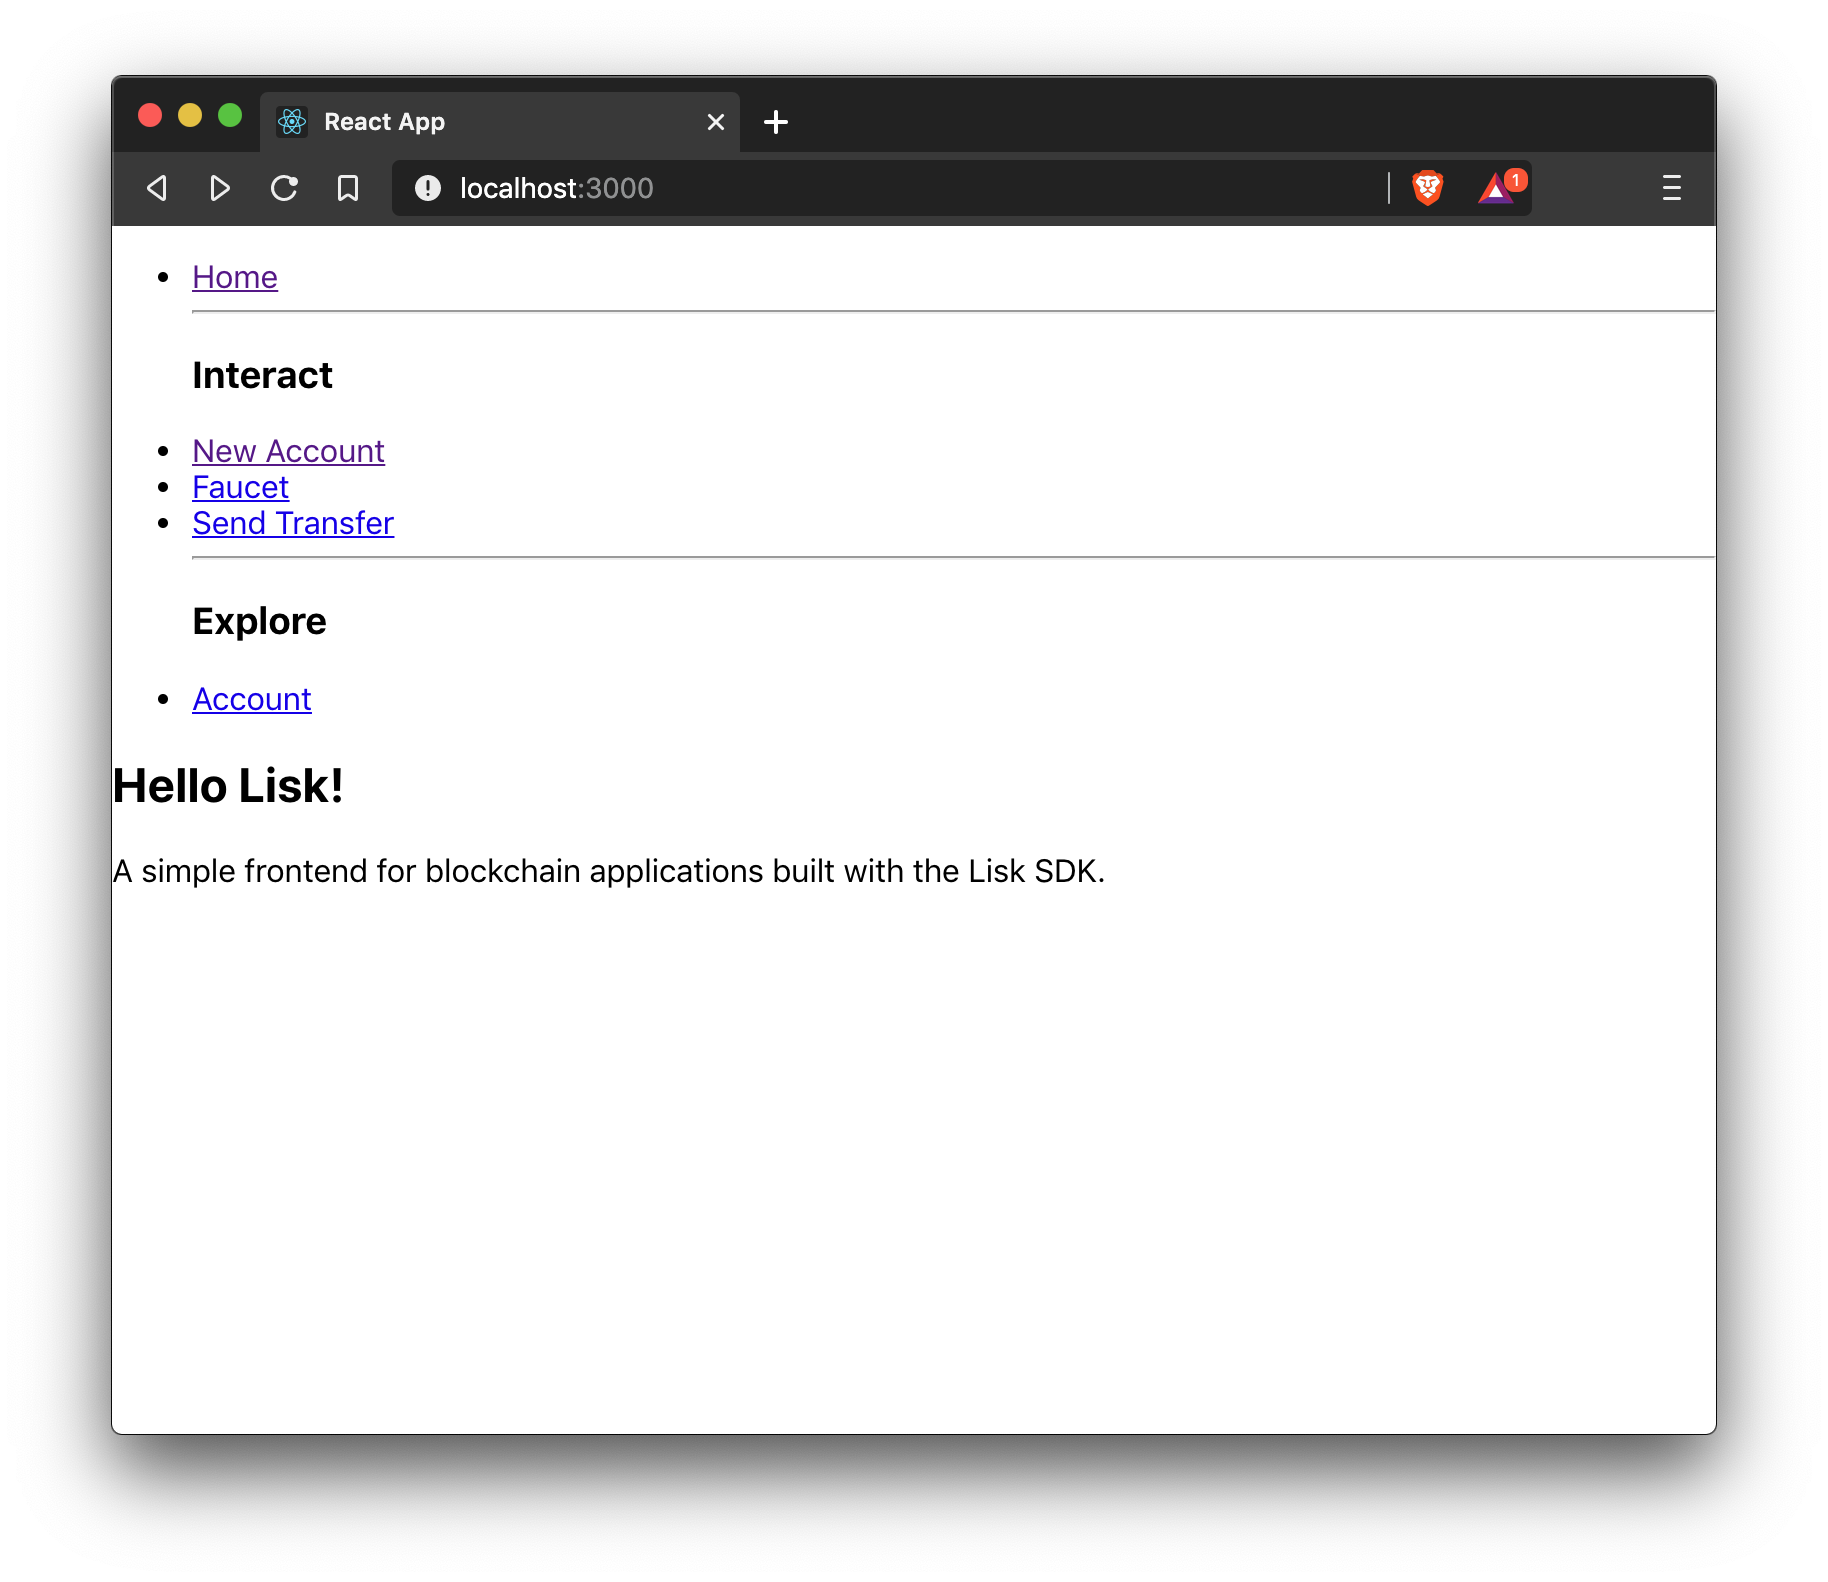
<h2>Hello Lisk!</h2>
<p>A simple frontend for blockchain applications built with the Lisk SDK.</p>
<p>Hello counter:</p>
<pre>{this.state.data.helloCounter}</pre>
<p>Latest Hello:</p>
<p>Message:</p>
<pre>{this.state.latestHello.message}</pre>
<p>Sender:</p>
<pre>{this.state.latestHello.sender}</pre>
</div>
);
}
}
export default Home;Move the file App.js into the src/components/ folder.
Now update the file to include the above defined React components and build a basic navigation structure.
import React from "react";
import {
    BrowserRouter as Router,
    Switch,
    Route,
    Link
} from "react-router-dom";
import "regenerator-runtime/runtime.js";
import Home from './Home';
import NewAccount from './NewAccount';
import Faucet from './Faucet';
import SendHello from './Hello';
import Account from './Account';
import Transfer from './Transfer';

export const app = () => {
    return (
        <Router>
            <div>
                <Route>
                    <ul>
                        <li><Link to="/">Home</Link></li>
                        <hr />
                        <h3> Interact </h3>
                        <li><Link to="/new-account">New Account</Link></li>
                        <li><Link to="/faucet">Faucet</Link></li>
                        <li><Link to="/send-hello">Send Hello</Link></li>
                        <li><Link to="/send-transfer">Send Transfer</Link></li>
                        <hr />
                        <h3> Explore </h3>
                        <li><Link to="/account">Account</Link></li>
                    </ul>
                </Route>

                <Switch>
                    <Route exact path="/">
                        <Home />
                    </Route>
                    <Route path="/send-hello">
                        <SendHello />
                    </Route>
                    <Route path="/new-account">
                        <NewAccount />
                    </Route>
                    <Route path="/faucet">
                        <Faucet />
                    </Route>
                    <Route path="/send-transfer">
                        <Transfer />
                    </Route>
                    <Route path="/account">
                        <Account />
                    </Route>
                </Switch>
            </div>
        </Router>
    );
}

export default app;
In the already existing index.js file, the App.js component is finally included in the root element, which is defined in index.html.
import React from 'react';
import ReactDOM from 'react-dom';
import './index.css';
import App from './components/App';

ReactDOM.render(
  <React.StrictMode>
    <App />
  </React.StrictMode>,
  document.getElementById('root')
);
5. Update Configuration
A WebSocket connection defined in the api.js must also be configured in the hello_app. So, add the following configuration to the config.json file.
{
  // [...]
  "rpc": {
    "enable": true,
    "mode": "ws",
    "port": 8080,
    "host": "127.0.0.1"
  },
  // [...]
}
For the new configurations to take effect, the existing data of hello_app must be removed:
rm -rf ~/.lisk6. View in browser
After completing all the steps above, start the app again:
npm startThis should open the app in the browser under the URL http://localhost:3000 .
| It is also necessary to start the corresponding blockchain application if it is not running already. |
It is now possible to use the app in a browser to create new accounts, fund accounts, view the account details of a specific account, and send tokens from one account to another as shown below.